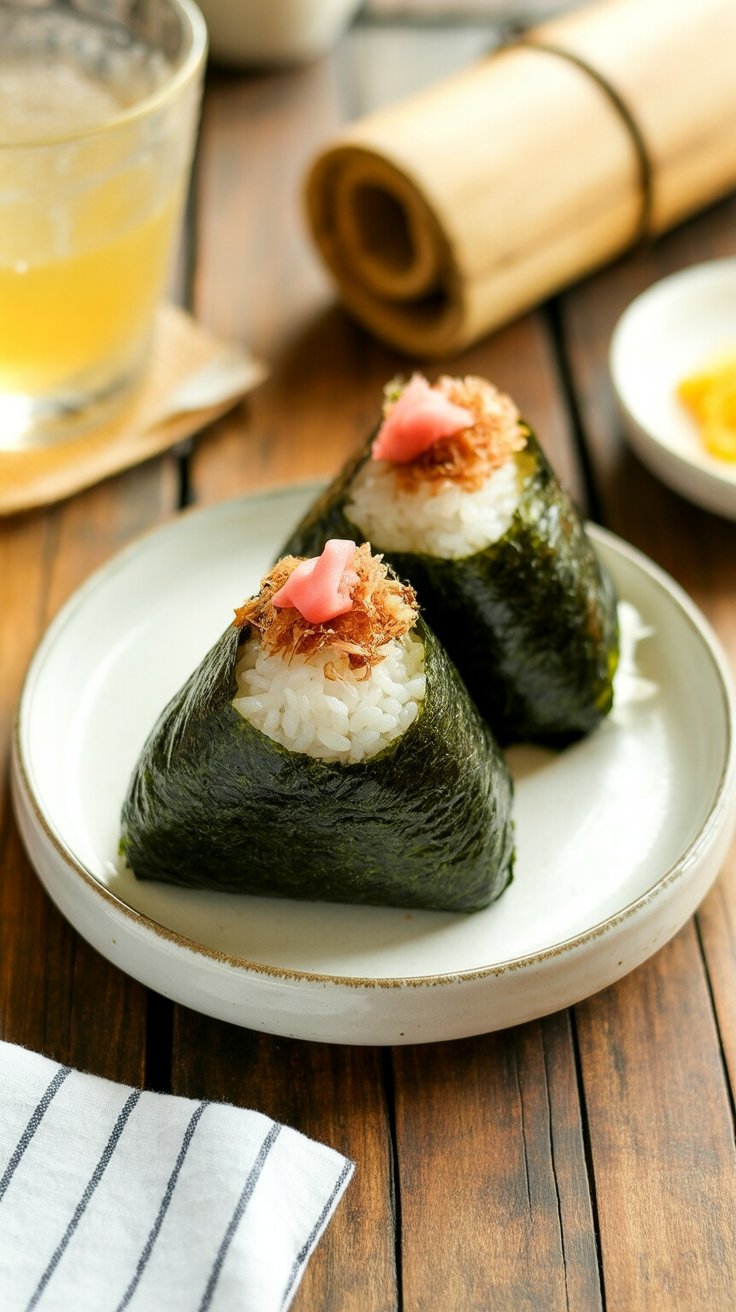
Onigiri is one of those foods that instantly makes me feel at home. Growing up, my mom would slip freshly made rice balls into my lunchbox before school, still slightly warm and wrapped in nori. They weren’t fancy, just simple rice with a bit of salted salmon or pickled plum tucked inside, but they always tasted like love.
These days, I make them not only for nostalgic reasons but also because they’re so practical. They’re filling, portable, and endlessly customizable. I often pack a few for road trips or picnics, and sometimes I make them as a fun change from sandwiches for lunch.
Why Onigiri Feels Special
-
Portable comfort: Perfect for lunches, hikes, or even movie snacks at home.
-
Flexible flavors: From traditional salted salmon to creative leftover fillings, you can make them your own.
-
Kid-friendly: They’re fun to shape, and little hands love helping roll them.
-
Timeless: A dish with centuries of history that still feels just as relevant today.
One of my favorite memories is eating onigiri during spring picnics under the cherry blossoms. There’s something magical about sitting on a picnic blanket with friends, unwrapping a rice ball, and tasting that familiar balance of salty, savory, and fresh flavors.
What You Need to Make Onigiri
-
Japanese short-grain rice: This is non-negotiable. It’s often labeled as “sushi rice” outside Japan. Long-grain rice won’t stick together properly. I love using Koshihikari rice—it gives the perfect chewy, sticky balance.
-
Nori (seaweed sheets): Adds flavor and makes the rice ball easy to hold. You can find it at Asian markets or the international aisle in many grocery stores.
-
Salt: A simple but important step—it seasons the rice and keeps it fresh longer.
-
Fillings (optional): Think of anything salty or savory. Classics include:
-
Salted salmon (shake)
-
Pickled plum (umeboshi)
-
Tuna mayo (tuna with Japanese mayo)
-
Bonito flakes with soy sauce (okaka)
-
Seasoned kombu seaweed
-
Cod roe (tarako or mentaiko)
-
Sometimes I’ll raid the fridge and use leftovers—grilled chicken, teriyaki beef, or even a bit of tempura. It’s a great way to stretch a small amount of protein into multiple meals.
Tips for Shaping Rice Balls
-
Use warm rice: Freshly cooked rice works best. Cold rice won’t stick properly.
-
Wet and salt your hands: This prevents sticking and lightly seasons the rice. I keep a small bowl of water nearby while shaping.
-
Gentle pressure: Don’t crush the rice—press firmly but lightly until it holds together.
-
Keep them covered: If you’re not eating right away, cover with plastic wrap or a damp towel so the rice doesn’t dry out.
-
Add nori just before eating: If you like your seaweed crisp, wrap it at the last minute. For softer nori, wrap it while the rice is still warm.
When I first started making onigiri on my own, I squeezed the rice too hard and ended up with dense little bricks. Over time, I learned it’s more about shaping than squeezing—now my rice balls are soft but still hold their form.
Make Ahead Tips
Onigiri is a perfect meal-prep snack. Here are a couple of ways I prep ahead:
-
Same-day prep: Make them in the morning, wrap in plastic, and tuck into lunchboxes. They’ll still taste great by lunchtime.
-
Overnight prep: Wrap the finished rice balls in plastic and then in a clean kitchen towel. This prevents the rice from getting too cold in the fridge and keeps the texture softer.
-
Freezer option: You can even freeze onigiri without the nori. Wrap tightly in plastic, then foil, and store up to a month. Reheat in the microwave before wrapping with fresh nori.
Serving Suggestions
Onigiri is versatile—you can serve it as:
-
A snack on the go with a thermos of miso soup.
-
A bento lunchbox item, alongside tamagoyaki (Japanese rolled omelet) and pickled vegetables.
-
A party appetizer, with a platter of different fillings so guests can try a variety.
-
A picnic staple, especially during spring and summer.
At home, I sometimes serve onigiri with miso soup and pickled cucumbers for a quick weeknight dinner when I don’t feel like cooking something heavy.
Storage
-
Room temperature: Safe for a few hours (like a packed lunch).
-
Refrigerator: Store up to 1 day, wrapped in plastic and a towel. Reheat gently before eating to soften the rice.
-
Freezer: As mentioned, freeze without nori. Add fresh nori after reheating.
FAQs
Why does my nori get soggy?
Nori absorbs moisture from the rice. To keep it crisp, wrap it just before eating, or use plastic onigiri wrappers that separate the rice and seaweed until ready.
Can I make onigiri with regular long-grain rice?
No. Long-grain rice won’t stick. Use short-grain or sushi rice only.
Do I always need a filling?
Not at all. Sometimes the simplest onigiri is just rice seasoned with a little salt. That’s how I enjoyed it as a kid.
Can kids help make onigiri?
Yes, and they love it! I often set out bowls of fillings and let kids shape their own rice balls. Using an onigiri mold makes it even easier.
Is onigiri the same as sushi?
No. Sushi rice is seasoned with vinegar, sugar, and salt. Onigiri is made with plain salted rice, which gives it a completely different flavor.
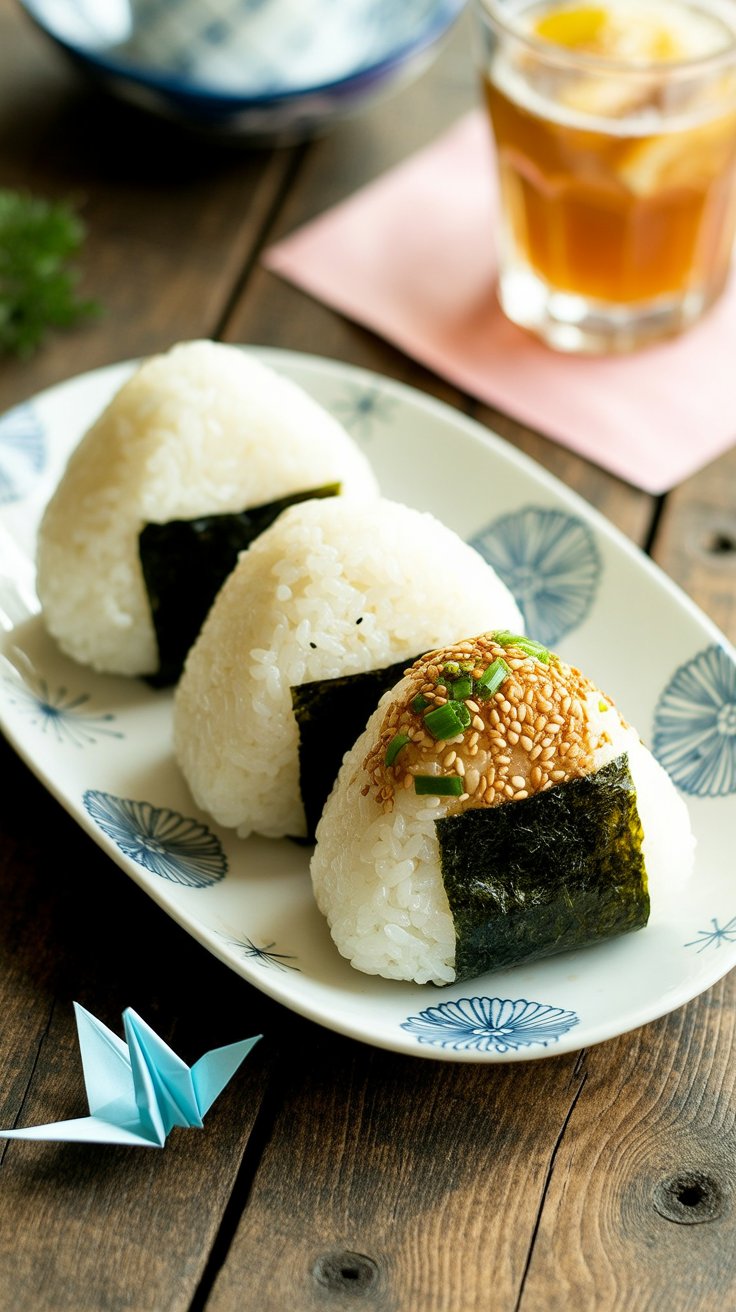
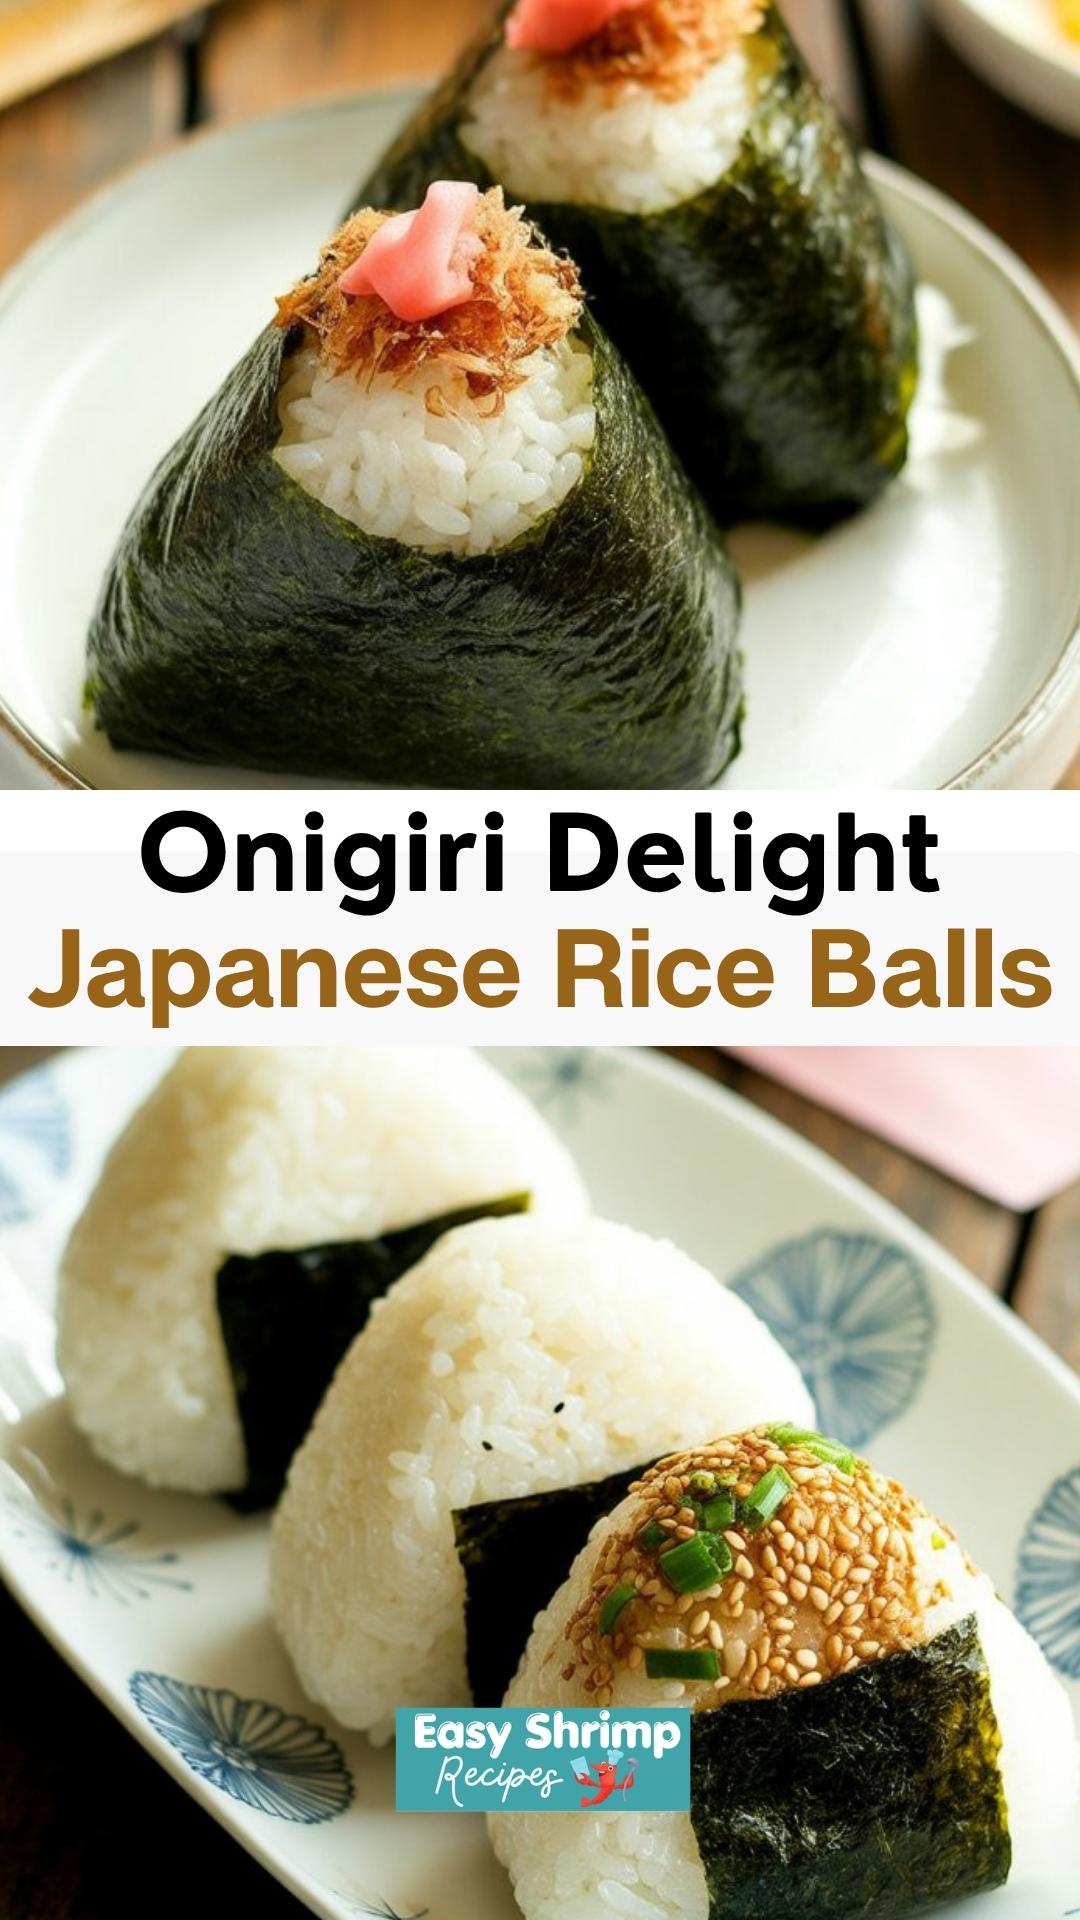
Japanese Rice Balls

Onigiri, or Japanese Rice Balls, are a beloved snack in Japan—simple, portable, and endlessly customizable.
Ingredients
For the Rice
- 2¼ cups Japanese short-grain rice (uncooked)
- 2½ cups water
For Shaping
- Kosher salt (or table salt, using less)
- 3 sheets nori (dried seaweed), cut into strips
Popular Fillings
- 1–2 salmon fillets, salted and baked until flaky
- 1 packet bonito flakes mixed with 1 tablespoon soy sauce (okaka)
- 1 (5-ounce) can tuna, mixed with 2 tablespoons Japanese mayo and ½ tablespoon soy sauce
- 2 umeboshi (pickled plums), pits removed
- 2 sacs spicy salted pollock roe (mentaiko)
- Shio kombu or furikake for easy flavor
Instructions
- Cook the rice: Rinse the short-grain rice several times until the water runs mostly clear. Drain and let it soak in fresh water for 20–30 minutes. Cook using a rice cooker, pot, or Instant Pot with 2½ cups water. Once done, let it rest covered for 10 minutes.
- Prepare the fillings: While the rice cooks, bake or broil salmon at 425°F until cooked through and flaky. Mix bonito flakes with soy sauce, stir tuna with mayo and soy sauce, remove seeds from umeboshi, or prepare roe and other seasonings. Keep everything ready to fill.
- Shape the onigiri: Transfer the warm (not hot) rice to a large bowl. Keep a bowl of water nearby for dipping your hands. Wet your palms, rub lightly with salt, then scoop a handful of rice. Flatten it slightly, place a spoonful of filling in the center, then cover with more rice. Gently press into a firm ball or the traditional triangle shape.
- Alternative shaping: You can use a plastic wrap method (pressing rice and filling inside plastic wrap) or a mold for easy shaping. If using a mold, sprinkle a little salt inside first to season and prevent sticking.
- Finish and serve: Wrap each rice ball with a strip of nori. If you like crispy seaweed, wait to wrap until just before eating. For added flair, sprinkle furikake on the outside or place a bit of the filling on top to identify what’s inside.
- Onigiri are best enjoyed the same day, slightly warm or at room temperature. If storing, keep cool and eat within 6 hours. For a delicious variation, pan-grill leftover onigiri and brush with soy sauce to make yaki onigiri.
Nutrition Information
Yield
9Serving Size
1Amount Per Serving Calories 1063Total Fat 62gSaturated Fat 12gTrans Fat 0gUnsaturated Fat 44gCholesterol 326mgSodium 584mgCarbohydrates 7gFiber 1gSugar 2gProtein 112g
Easy Shrimp Recipes.com, occasionally offers nutritional information for recipes contained on this site. This information is provided as a courtesy and is an estimate only. This information comes from online calculators. Although allchickenrecipes.com attempts to provide accurate nutritional information, these figures are only estimates.
Final Thought
Onigiri may look humble, but it carries so much history, comfort, and joy in every bite. Whether you make them as a quick snack, pack them for lunch, or serve them at a picnic, they always bring smiles. I still get that same cozy feeling from shaping rice balls today as I did standing in the kitchen with my mom years ago. It’s a food that connects generations, one handful of rice at a time.

