There’s nothing quite like the satisfaction of catching, smoking, and preserving your own fish. It’s become a little ritual in our house — the excitement of the catch, the smoky aroma filling the air during the curing process, and finally lining up shiny jars of home-canned fish in the pantry.

Canning smoked fish isn’t just about preservation; it’s about convenience. Instead of worrying about frozen fish losing texture or drying out after a few months, you’ll have rich, flavorful fish that’s shelf-stable and ready whenever you are. Whether you want a quick snack, a protein-packed lunch, or something fancy for a charcuterie board, those jars of smoky goodness are hard to beat.
Why You’ll Love This Process
-
Shelf-Stable and Ready Anytime – No thawing, no fuss — just open a jar and enjoy.
-
Better Than Freezing – The fish retains its texture and flavor far better than frozen.
-
Perfect for Small or Large Batches – Whether you have a weekend’s worth of kokanee or a couple of big salmon fillets, you can scale the process up or down.
-
Peace of Mind – You know exactly how your fish was handled, processed, and stored.
What You’ll Need
Equipment
-
Pressure Canner – A proper 16- to 22-quart model (not an instant pressure cooker).
-
Canning Jars – Pint or half-pint jars; do not use quarts.
-
Jar Lifter – For safely moving jars in and out of the canner.
-
Clean Lids and Bands – Always use new lids for a proper seal.
Ingredients
-
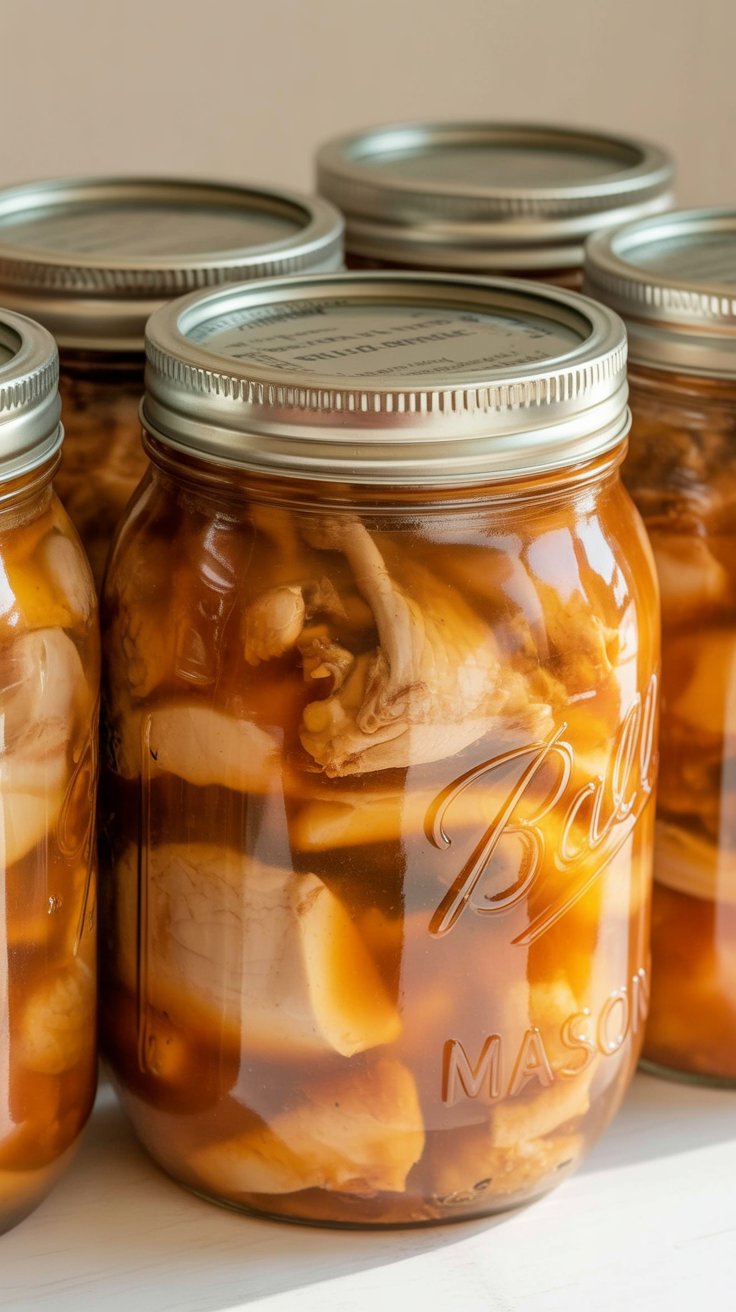
Smoked Fish – Kokanee, trout, or salmon all work beautifully. Once the fish has cooled, remove the skin and bones and break it into jar-friendly pieces.
Step-by-Step Process
Step 1: Prep Your Jars and Fish
-
Wash jars in hot soapy water or run them through the dishwasher.
-
Wash lids in hot soapy water (no boiling needed).
-
Remove skin and bones from your smoked fish and cut it into pieces that will fit comfortably in the jars.
Step 2: Fill the Jars
-
Pack fish into each jar, leaving 1 inch of headspace at the top.
-
Wipe the rim clean with a damp cloth to remove any oil or bits of fish.
-
Place the lid on and screw the band on firmly but not overly tight.
Step 3: Load the Pressure Canner
-
Add at least 4 inches of water to the bottom of the canner and place the rack inside.
-
Arrange the jars in the canner. For multiple layers, add another rack and place the second layer of jars on top.
-
Lock the lid but leave the steam vent uncovered.
Step 4: Vent and Process
-
Heat on high until a steady stream of steam escapes; let it vent for 10 minutes.
-
Cover the vent and allow pressure to build.
-
Once your required pressure is reached (based on your altitude), process for 110 minutes.
-
Maintain steady pressure throughout — make small heat adjustments as needed.
Step 5: Cool and Seal
-
Turn off the heat and let the canner return to zero pressure naturally (30–60 minutes).
-
Carefully remove the lid, facing away from you to avoid steam burns.
-
Use a jar lifter to place jars on a cooling rack lined with a towel.
-
Let them cool completely before removing the bands, washing the jars, and labeling them with the date.
Practical Tips for Success
-
Inspect Your Jars – Check for cracks or chips before filling.
-
Replace Lids Each Time – This ensures a reliable seal.
-
Monitor Your Pressure – Don’t let it drop below your target or climb too high.
-
Follow Timing Exactly – Underprocessing can compromise safety.
-
When in Doubt, Throw It Out – If anything seems off — bulging lids, odd smells, discoloration — do not taste it.
How We Use Our Canned Smoked Fish
Once those jars are sealed and stored, the fun begins. Here are some of my favorite ways to enjoy them:
-
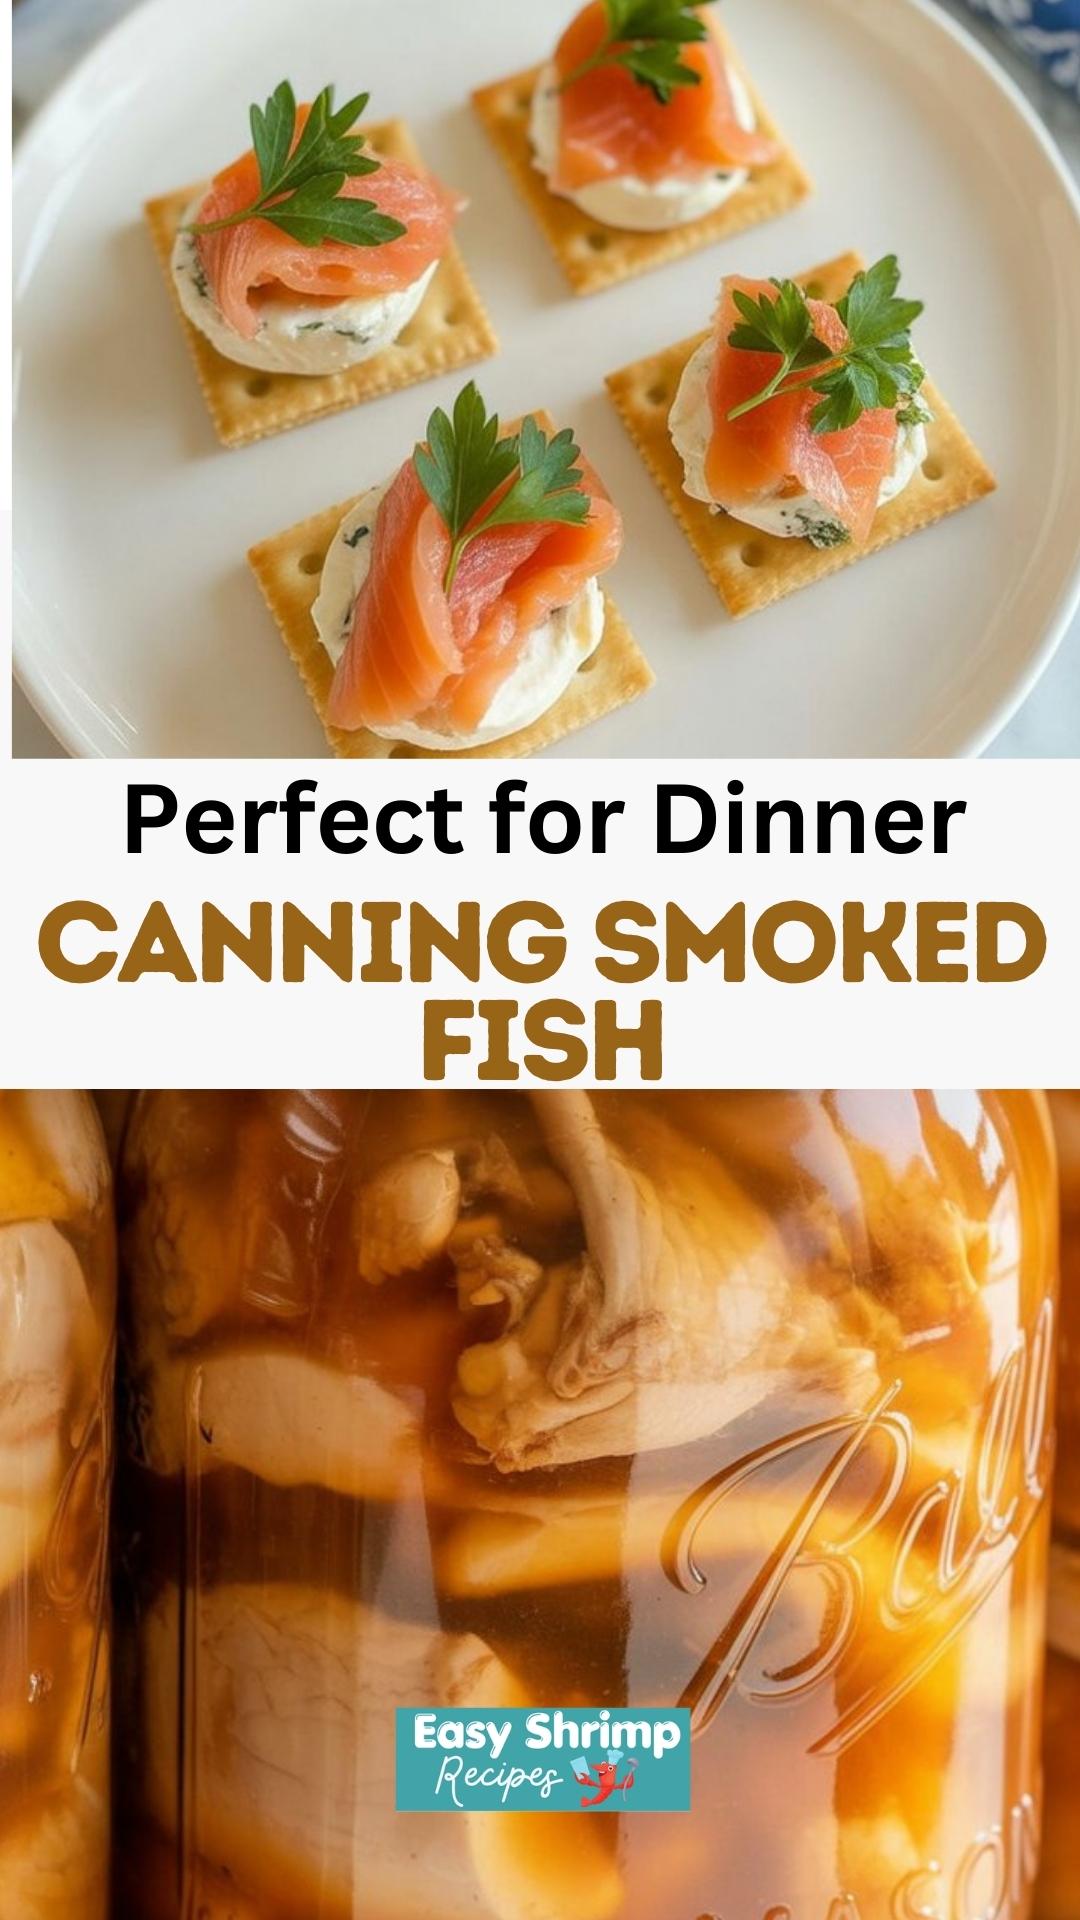
Flaked over crackers with cream cheese for a quick snack.
-
Mixed with mayo, chopped onions, pickle relish, and diced bell peppers for a smoky “tuna” salad sandwich.
-
Folded into pasta dishes or creamy dips.
-
Served as part of a charcuterie board for an easy appetizer.
FAQs
How long does home-canned smoked fish last?
It’s best to eat it within one year for peak quality, though it can remain safe for up to two years. After the one-year mark, the flavor and color might fade slightly, but it’s still edible as long as the seal is intact and there are no signs of spoilage.
How should I store the jars?
Keep them in a cool, dry, and dark space — between 50°F and 70°F is ideal. Remove the screw bands for storage to prevent rust and make it easier to spot failed seals.
Why use a pressure canner instead of a water bath?
Fish is a low-acid food, so it requires the high temperatures a pressure canner can reach to ensure it’s safe and shelf-stable.
What if my jar didn’t seal?
If a jar doesn’t seal after cooling, refrigerate it and enjoy the fish within a few days — or discard it if you’re unsure.
Can I use quart-sized jars?
No, stick with pint or half-pint jars. Larger jars don’t heat evenly during processing, which can make the contents unsafe.
Canning Smoked Fish

Preserve your freshly smoked fish safely and deliciously with this pressure canning method.
Ingredients
- Smoked fish (amount varies depending on how much you want to can)
Instructions
- Wash jars thoroughly in hot, soapy water or in the dishwasher and rinse well. Wash lids in hot, soapy water too (boiling is no longer necessary).
- Remove skin and bones from the smoked fish. Pack pieces of fish into each jar, leaving 1 inch of headspace at the top.
- Wipe jar rims with a clean, damp cloth to remove any oil or fish residue. Place lids on and secure bands with a firm twist — not overly tight.
- Pour at least 4 inches of water into the bottom of the pressure canner and set the heat diffuser (rack) in place. Arrange the filled jars inside. For a second layer, add another rack and stack more jars carefully.
- Lock the lid in place with the steam vent open. Turn the heat to high. Once steam vents in a steady stream, let it vent for 10 minutes. Then cover the vent to allow pressure to build.
- When the pressure reaches 10 pounds (or your recommended pressure based on elevation), set a timer for 110 minutes. Maintain the required pressure, keeping it steady and below the caution zone (20 pounds).
- Turn off the heat and allow the pressure to naturally return to zero — this may take 30–60 minutes. Do not remove the vent cover early. Once pressure is at zero, carefully remove the lid, opening it away from you to avoid steam burns.
- Use a jar lifter to place hot jars on a cooling rack lined with a towel. Let the jars sit undisturbed as they cool and seal — you’ll hear that satisfying “ping” sound as they do.
- Once cooled, remove screw bands and test the seals by pressing the center of each lid. Properly sealed lids will be slightly concave with no movement. Wash jars to remove any residue, label with the contents and date, and store in a cool, dark pantry.
Notes
- Check your altitude: Adjust processing pressure based on your elevation for safe canning.
- For unsealed jars: Consume immediately or refrigerate for short-term use. They’re safe to eat but not shelf-stable.
- Shelf life: Properly sealed jars can last a year or more when stored in a cool, dark place.
Nutrition Information
Yield
8Serving Size
1Amount Per Serving Calories 18Total Fat 0gSaturated Fat 0gTrans Fat 0gUnsaturated Fat 0gCholesterol 6mgSodium 173mgCarbohydrates 0gFiber 0gSugar 0gProtein 4g
Easy Shrimp Recipes.com, occasionally offers nutritional information for recipes contained on this site. This information is provided as a courtesy and is an estimate only. This information comes from online calculators. Although allchickenrecipes.com attempts to provide accurate nutritional information, these figures are only estimates.
Final Thought
Canning smoked fish takes a bit of patience, but the reward is unbeatable — jars of smoky, savory fish ready to grab for a meal or snack at any time. Once you’ve got a pantry lined with those little jars of gold, you’ll wonder how you ever lived without them. It’s the kind of simple, rewarding kitchen project that keeps your hard-earned catch tasting its best long after fishing season ends.

