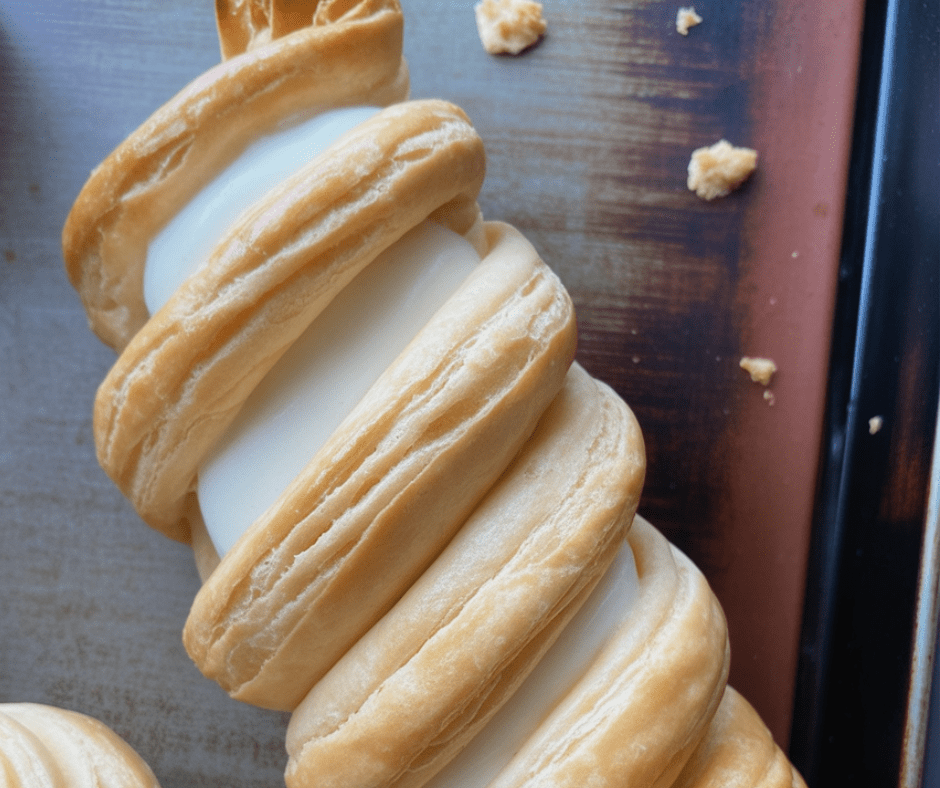
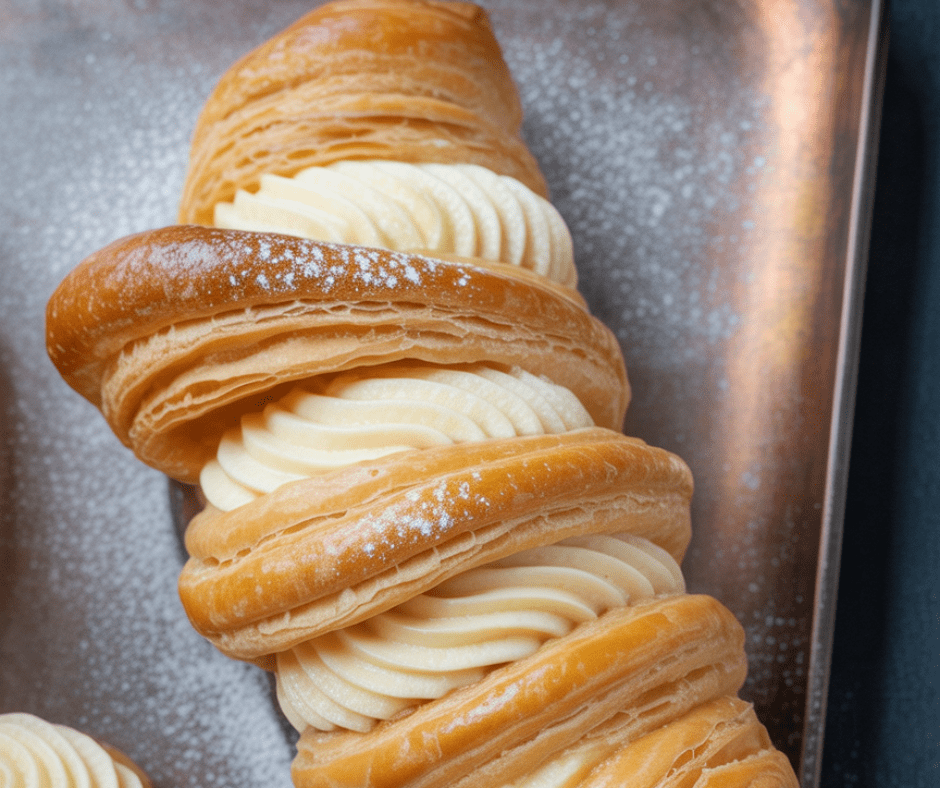
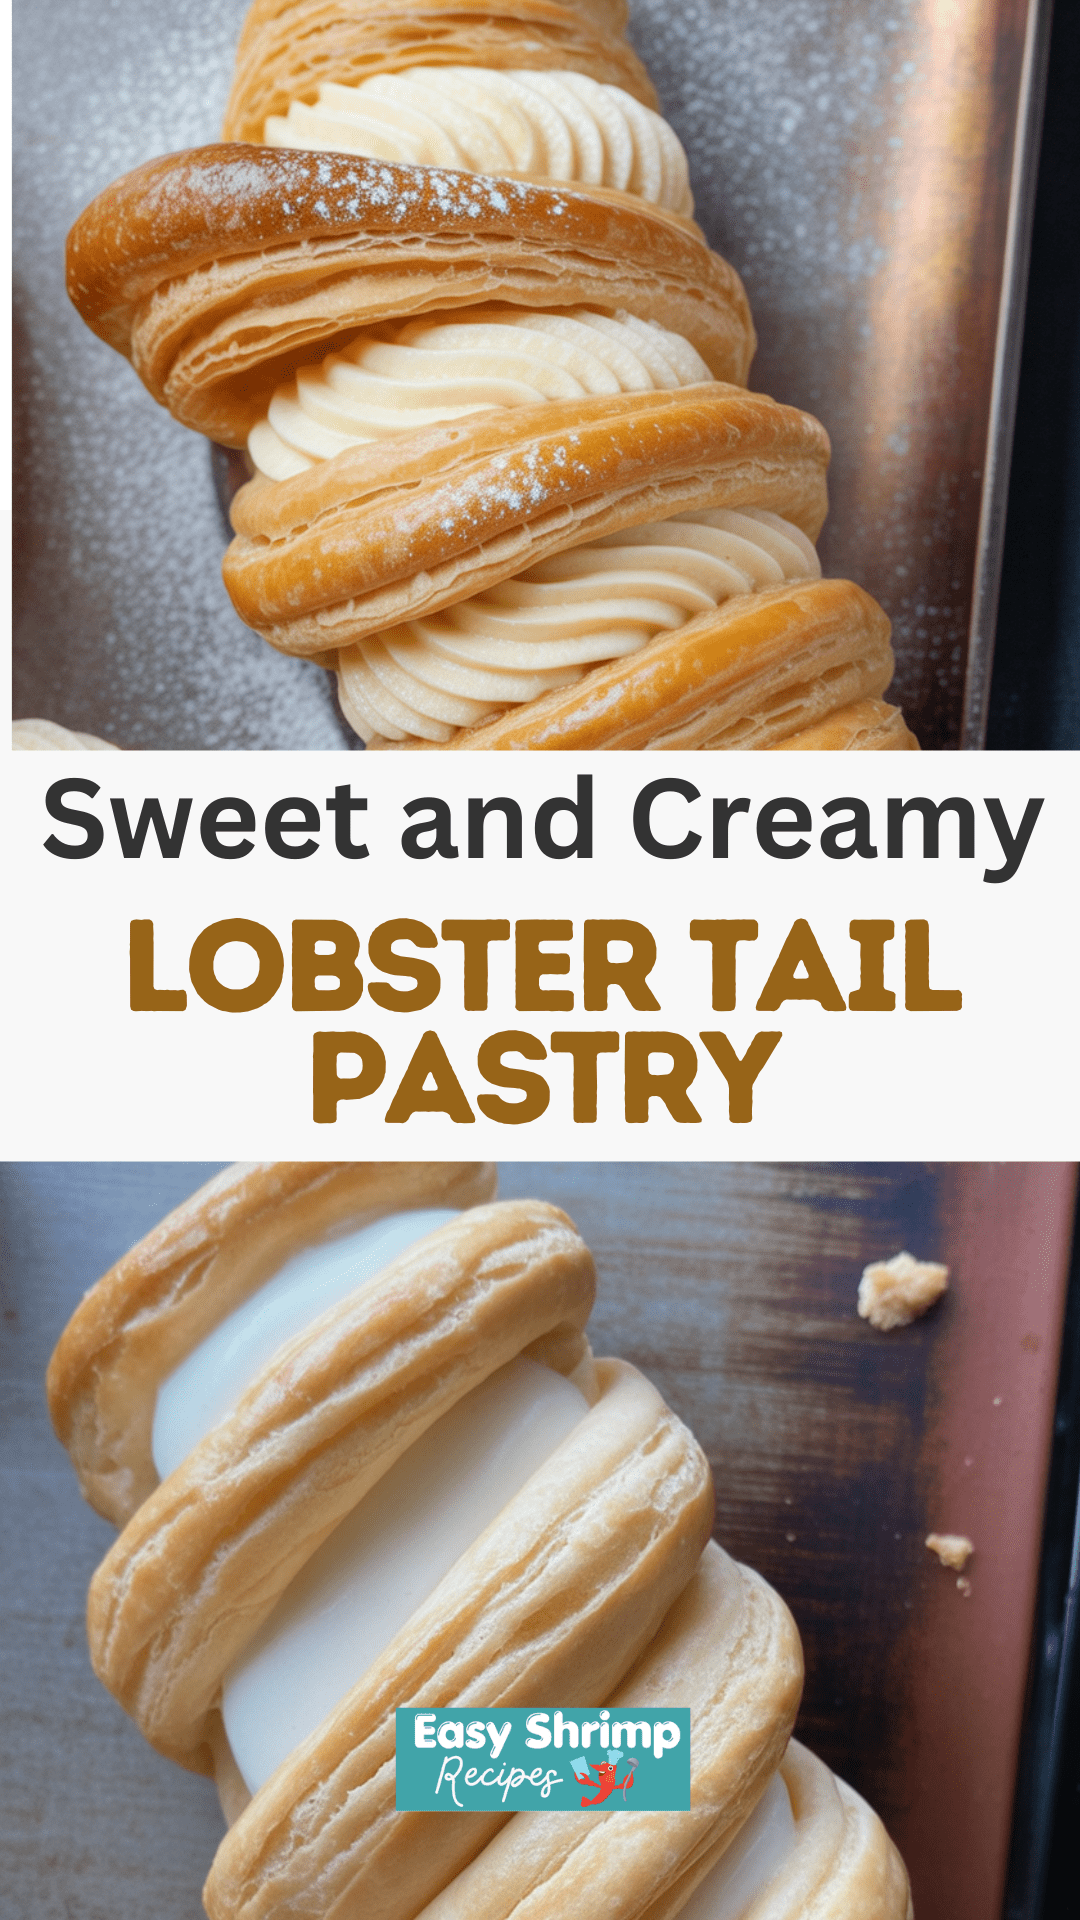
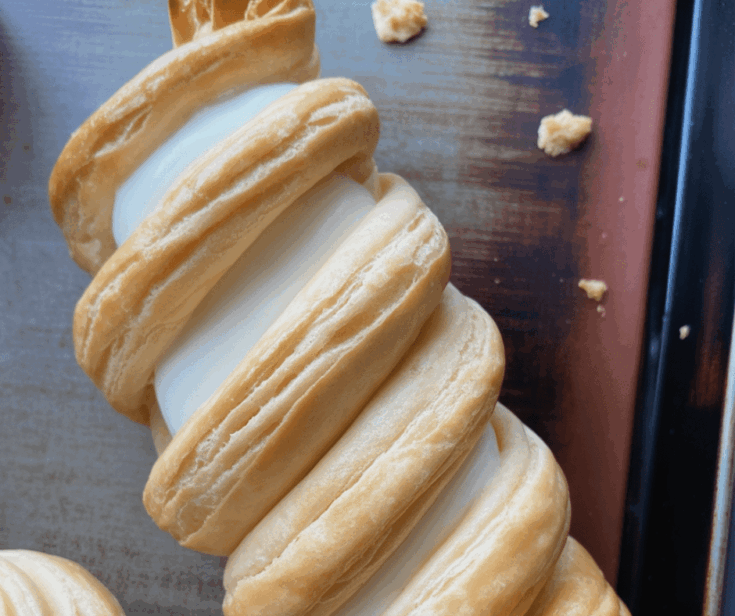
If you’ve ever sunk your teeth into a Lobster Tail Pastry—flaky, crispy shell on the outside with that creamy, cloud-like filling inside—you already know how dangerously delicious they are. And yes, they take some patience and love to make, but trust me, the reward is every bit worth it.

What Is a Lobster Tail Pastry?
This pastry gets its name from its shape—those elegant, layered ridges that resemble the tail of a lobster. But don’t be fooled—there’s no seafood here! It’s made with laminated dough (the same kind you use for sfogliatelle), filled with pâte à choux (cream puff dough) before baking, and finished with a generous filling of sweetened whipped ricotta cream.
What Makes This Recipe Special
- Crunchy, golden shell from ultra-thin rolled dough
- Airy interior thanks to the choux filling that puffs as it bakes
- Sweet and creamy center of whipped ricotta or pastry cream
- It’s a true Italian bakery treat—but made in your own kitchen!
Yes, It’s a Challenge—But You’ve Got This
This isn’t your average weeknight baking project. You’ll need 3 days and a good dose of patience. But if you enjoy baking projects and love pastry-making, this one’s going to be really satisfying. I’ve broken it down into manageable steps and included all the tips that helped me succeed—because once you’ve done it, you’ll be proud of every single flaky layer.

🗓 Suggested Game Plan
Day 1: Make the Dough (Lobster Tail Shell Dough)
- Mix and knead the dough until smooth.
- Shape it into a disk, wrap it tightly, and refrigerate overnight.
Day 2: Laminate the Dough
- Slice your chilled dough into 4 equal pieces.
- Lightly roll them out, then run each piece through your pasta machine from setting 0 to 6. (Do not go thinner—setting 6 is just right!)
- Flour often and handle carefully—the dough is delicate.
- Spread softened vegetable shortening over the sheet, then roll tightly, stretching the dough as you go.
- Repeat with the next sheet, wrapping it around the first roll. Do this with all 4.
- You’ll end up with one big log about 12 inches long and 3–4 inches thick.
- Chill again until firm.
Day 3: Slice, Shape, Fill, and Bake
- Slice the dough roll into discs—about ¾ to 1 inch thick.
- Flatten each disc gently with the palm of your hand.
- Use your thumbs to press the center and edges to create a cone or shell shape.
- Pipe in pâte à choux dough, filling generously.
- Bake until puffed, golden, and crisp!
Let them cool slightly, then pipe in sweet whipped ricotta cream or pastry cream to finish. Dust with powdered sugar—and try not to eat them all at once!
Tips for Success
- Use a pasta roller – A dough sheeter would be ideal, but a pasta machine (with a motor, if you have one) works great.
- Shortening is key – It keeps the layers distinct and crisp. Don’t skip it!
- Keep it cool – If your kitchen’s warm, refrigerate the dough between steps to prevent melting.
- Work slowly and gently – The dough is thin and fragile, especially after rolling.
Cream Filling Options
- Whipped ricotta with powdered sugar and vanilla
- Vanilla pastry cream or whipped mascarpone
- Or go totally decadent with chantilly cream + mini chocolate chips

Storage & Serving
- These are best the same day, fresh and crisp from the oven.
- You can store them unfilled at room temp for a day, then fill just before serving.
- Reheat unfilled pastries in the oven at 325°F for 5–7 minutes to crisp them up again.
Lobster Tail Pastry

This Italian American classic is a showstopper—think of it as the luxurious cousin to sfogliatelle.
Ingredients
- 500 grams all purpose flour (if using bread flour, add about 90 ml or 6 tablespoons of water)
- 50 grams sugar
- 200 ml water
Ingredients to Assemble the Dough Roll
- 150 grams shortening
Ingredients for the Cream Puff Dough
- 230 grams unsalted butter (1 cup; 2 sticks)
- 473 ml water (2 cups)
- 1/2 teaspoon salt
- 240 grams all purpose flour (2 cups)
- 8 large eggs
Ingredients for the Whipped Cream Ricotta Filling
- 750 ml heavy whipping cream
- 1 tablespoon vanilla
- 1/2 teaspoon cream of tartar
- 420 grams powdered sugar, divided
- 2 1/4 pounds ricotta cheese, drained if needed
Instructions
Day 1: Prepare the Dough for the Shells
- Combine the flour and sugar in the bowl of a stand mixer. Pour in the water and knead until the dough comes together and becomes strong and elastic. You're looking for a firm dough that passes the windowpane test. Place the dough in a sealed container or plastic bag and refrigerate overnight.
Day 2: Form the Lobster Tail Shell Roll
- Divide the dough into four equal portions. Roll each piece out slightly and coat with flour to prevent sticking. Using a pasta machine, pass each piece through settings 0 to 6 until thin and even. Flour generously throughout to avoid tearing.
- Use a floured rolling pin to catch the dough as it exits the machine. Spread a thin layer of shortening on one side of the dough, gently stretching it a bit wider before doing so. Begin rolling the sheet jellyroll-style, pulling it taut with each roll to keep it snug.
- Repeat this with the remaining dough pieces, adding each new sheet to the roll to create one large, continuous dough cylinder. Once rolled, coat the outside of the dough with shortening, wrap tightly in plastic wrap, and refrigerate overnight.
Day 2: Make the Cream Puff Dough
- Sift together the flour and salt. In a saucepan over high heat, bring the butter and water to a boil. Lower the heat and quickly stir in the flour mixture. Continue stirring until the dough pulls away from the pan and forms a smooth ball. Remove from heat.
- Add the eggs one at a time, mixing vigorously between each addition until fully incorporated. Use a hand mixer for ease. Once complete, transfer to a bowl, cover, and refrigerate.
Day 3: Make the Ricotta Whipped Cream Filling
- In a medium bowl, beat 1.5 cups of heavy cream with 1.5 teaspoons vanilla, cream of tartar, and 1.5 cups powdered sugar until soft peaks form. In another bowl, combine the remaining 1.5 cups cream, 1.5 teaspoons vanilla, just under 2 cups powdered sugar, and all the ricotta.
- Fold both mixtures together gently. Cover and refrigerate until ready to use.
Day 3: Assemble the Pastries
- Remove the chilled dough roll and slice into 14 to 18 pieces, each about 1/2 inch thick. If slicing is difficult, chill the dough in the freezer for 20 minutes to firm it up.
- Flatten each piece gently with your palm, dusting lightly with flour to keep from sticking. Using both thumbs, press the center and shape each round into a cone.
- Fill each cone generously with the cream puff dough. The more filling you add, the more dramatic the rise will be during baking. Place each filled pastry on a lined baking sheet, spaced apart to allow for expansion. If you run out of oven space, keep the extras in the refrigerator until ready to bake.
Day 3: Bake the Pastries
- Preheat the oven to 450°F. Bake for 15 minutes at this high heat to encourage puffing, then lower the temperature to 350°F and continue baking for another 20 minutes. Pastries should be a deep golden brown—if they’re too pale, they’ll collapse as they cool.
Day 3: Fill the Pastries
- Let the shells cool completely before filling to avoid melting the cream. Use a sharp knife to create a small slit in the base of each pastry. Fit a piping bag with a wide tip and fill each shell with the ricotta cream mixture. Dust with powdered sugar if desired.
Notes
Storage
- Dough rolls can be refrigerated for up to 2 days or frozen for up to 1 month—thaw before shaping. The cream puff dough can be made 2 days in advance and stored airtight in the fridge. Filled pastries are best the day they’re made but can be kept for a couple of days.
Filling Ideas
- You can experiment with other fillings like diplomat cream, chocolate cherry whipped cream, or hazelnut cream for a twist.
Baking Tips
- To prevent collapse, always start with high heat and bake long enough to allow full puffing. The dough should be stiff, not runny.
For a Beautiful Shell
- Choose high-quality flour like King Arthur, Gold Medal, or Bob’s Red Mill. Use plenty of flour during rolling to keep dough from sticking. Thin sheets are key—roll from setting 0 to 6 and gently widen with your hands. Roll tightly with consistent pulling and coating. Bake until well browned for that signature crunch.
Ricotta Tip
- Use the best-quality ricotta you can find. BelGioioso is a great option—super creamy, never watery or grainy.
Nutrition Information
Yield
16Serving Size
1Amount Per Serving Calories 924Total Fat 55gSaturated Fat 30gTrans Fat 1gUnsaturated Fat 22gCholesterol 210mgSodium 335mgCarbohydrates 88gFiber 2gSugar 32gProtein 19g
Easy Shrimp Recipes.com, occasionally offers nutritional information for recipes contained on this site. This information is provided as a courtesy and is an estimate only. This information comes from online calculators. Although allchickenrecipes.com attempts to provide accurate nutritional information, these figures are only estimates.

