This is one of those dishes I lean on when I want something that feels special but doesn’t take much time. A quick sear, a bold seasoning mix, a fresh squeeze of citrus, and dinner is ready faster than it takes to set the table. If you’ve ever ordered seared tuna at a restaurant and wondered if you could make it at home, the answer is yes — and it’s simpler than you might expect.

I often make this when I’m craving something light yet satisfying. The outside is warm and seasoned, the inside stays soft and tender, and that contrast feels wonderful every single time.
What is Yellowfin Tuna?
Yellowfin, often labeled as ahi in many seafood markets, is a firm, mild-tasting fish that takes well to strong flavors. You’ll often see it in poke bowls, sushi bars, and summer grills. At home, I prefer a quick sear because the natural flavor of the fish shines without needing heavy sauces or long cooking.
If you’ve ever been nervous about cooking fish, tuna is a gentle place to start. It doesn’t flake easily, and it holds its shape well.
Ingredients
-
Yellowfin or Ahi tuna steaks (sushi-grade if you want to serve with a pink center)
-
Butter, ghee, clarified butter, or avocado oil
-
Blackened seasoning spice mix (store-bought or homemade)
I like using a neutral oil with a high smoke point for the initial sear and finishing with a touch of butter for flavor.
Blackening Seasoning for Fish
This seasoning mix packs flavor without overwhelming the tuna. It’s smoky, peppery, and comes together using spices you likely already keep in your pantry.
-
Sweet paprika
-
Onion powder
-
Garlic powder
-
Cayenne pepper (adjust based on your spice comfort level)
-
Thyme
-
Oregano
-
Salt
-
Black pepper
Sometimes I make a large batch and keep it in a jar so I’m always ready to make this dish on a weeknight.
Understanding the Sear
Searing tuna means cooking the surface quickly in a very hot pan to form a flavorful crust. The center stays soft and rosy. It’s one of the things that makes this dish feel restaurant-style, even though it’s just a few minutes of cooking.
Most tuna on the market is frozen shortly after harvest, which helps maintain quality and safety. Let it thaw in the fridge, pat it very dry, and it’s ready for seasoning.
How to Make Blackened Tuna Steaks
-
Rinse and pat the tuna dry. Dry fish sears better — moisture will steam it instead.
-
Coat the tuna generously in the seasoning mix. I press it in so it clings.
-
Heat a cast iron or heavy stainless-steel pan until it’s very hot.
-
Add oil, then place the tuna in the pan. You should hear a strong sizzle.
-
Sear for about 30 seconds on each side. The edges will change color slightly, but the center stays bright pink.
-
Let it rest for a couple of minutes, then slice with your sharpest knife.
The timing is quick, so stay nearby. This is a dish that rewards attention.
Storage
Wrap leftover seared tuna tightly and refrigerate for up to 24 hours. It’s lovely cold the next day over a salad or tucked into a rice bowl.
What to Serve with Blackened Tuna
I usually keep the sides fresh and bright. Some favorites:
-
Mango salsa or any fruit salsa
-
Simple slaw with lime
-
Steamed rice
-
Crisp salad greens
-
Seaweed salad
-
Soy sauce or coconut aminos
-
Spicy mayo or creamy dipping sauce
Fruit works wonderfully because the sweetness balances the spice.
Sauce Ideas for Blackened Tuna
A simple sauce can round out the dish beautifully. Here are a few options I often use at home:
-
Spicy mayo (mayonnaise mixed with garlic and a squeeze of sriracha)
-
A lemony sesame sauce with soy, garlic, and a drop of sesame oil
-
A light drizzle of lime juice mixed with a touch of honey and chili flakes
These sauces don’t overpower the fish — they just add a finishing touch.
Notes and Extra Tips
-
A very hot pan is key. If the pan isn’t hot enough, the tuna won’t form that nice crust.
-
Keep the sear short if you like a pink center. Overcooking makes tuna firm and dry.
-
Slice with a sharp knife so the tuna doesn’t tear.
-
I often save a few slices to put on a salad the next day. It adds flavor without much effort.
One of my favorite ways to enjoy this is over seaweed salad or tucked inside soft tortillas with shredded cabbage and a drizzle of spicy mayo.
More Seafood Ideas to Try Next
-
Blackened snapper
-
Blackened fish tacos
-
Seared swordfish
-
Pan-seared snapper with simple slaw
-
Blackened shrimp with warm butter

FAQ
What does blackened tuna mean?
It refers to tuna coated in a peppery seasoning mix and quickly seared to form a browned crust.
Is the seasoning blend spicy?
The cayenne adds heat, but you can reduce or increase it depending on preference.
Should the inside of tuna stay pink?
Yes, for this style of preparation, the inside remains pink and tender.
How long does seared tuna keep?
About 24 hours in the refrigerator if stored tightly.
What kind of sauce pairs well with it?
Creamy sauces like spicy mayo, or citrus-forward sauces with soy and sesame, work very well.
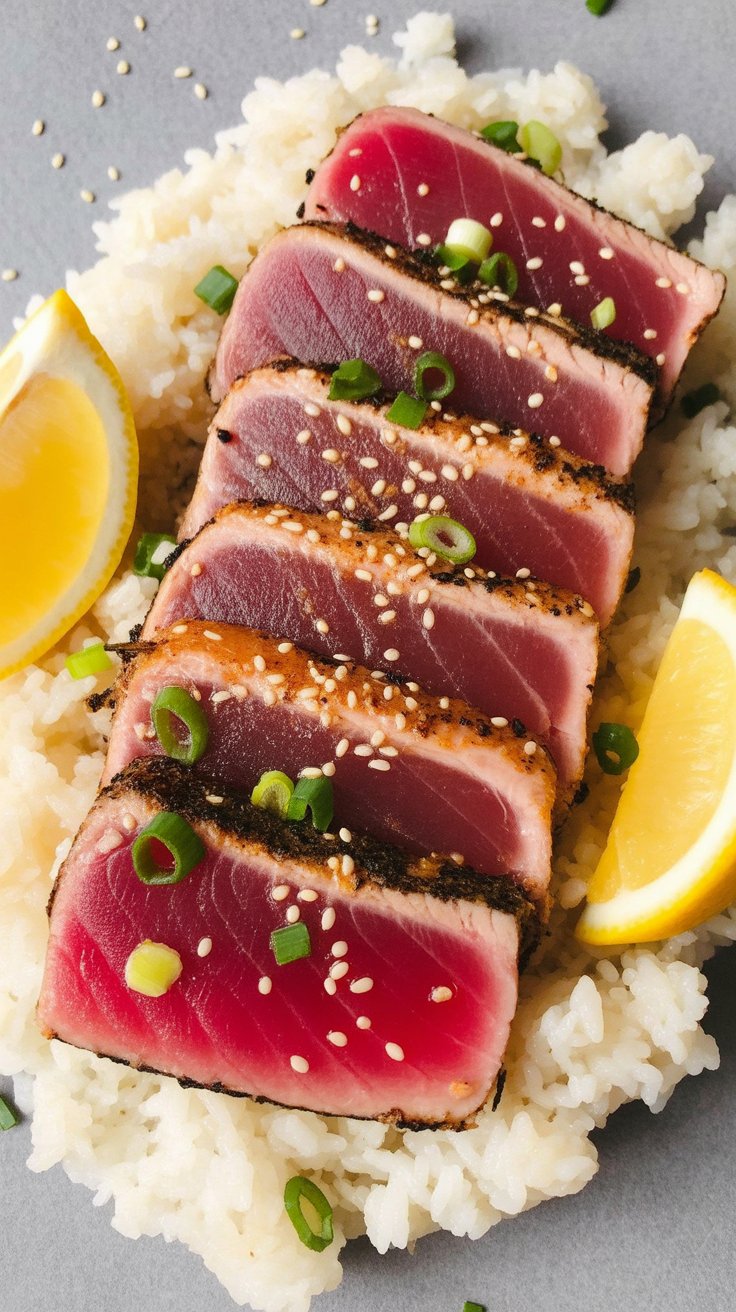
Pan Seared and Blackened Yellowfin Tuna
A bold and flavorful way to enjoy fresh tuna. The outside forms a smoky, spiced crust while the inside stays tender and rare.
Ingredients
- 2 teaspoons sweet paprika
- 1 teaspoon garlic powder
- 1/2 teaspoon onion powder
- 1/4 teaspoon cayenne pepper
- 1/2 teaspoon dried thyme
- 1/2 teaspoon dried oregano
- 1 1/2 teaspoons salt
- 1/2 teaspoon ground black pepper
- 12 ounces yellowfin or ahi tuna (thawed if frozen)
- 1 tablespoon unsalted butter or oil
Instructions
- Pat the tuna dry with paper towels to remove any excess moisture.
- In a small bowl, mix together the paprika, garlic powder, onion powder, cayenne, thyme, oregano, salt, and black pepper.Press the tuna into the seasoning mixture, coating both sides evenly.
- Heat the butter in a skillet over medium-high heat until hot.
- Place the tuna in the skillet and sear for about 30 seconds on each side, just until a crust forms while leaving the inside rare.
- Transfer the tuna to a plate and let it rest for a few minutes before slicing into thin pieces.
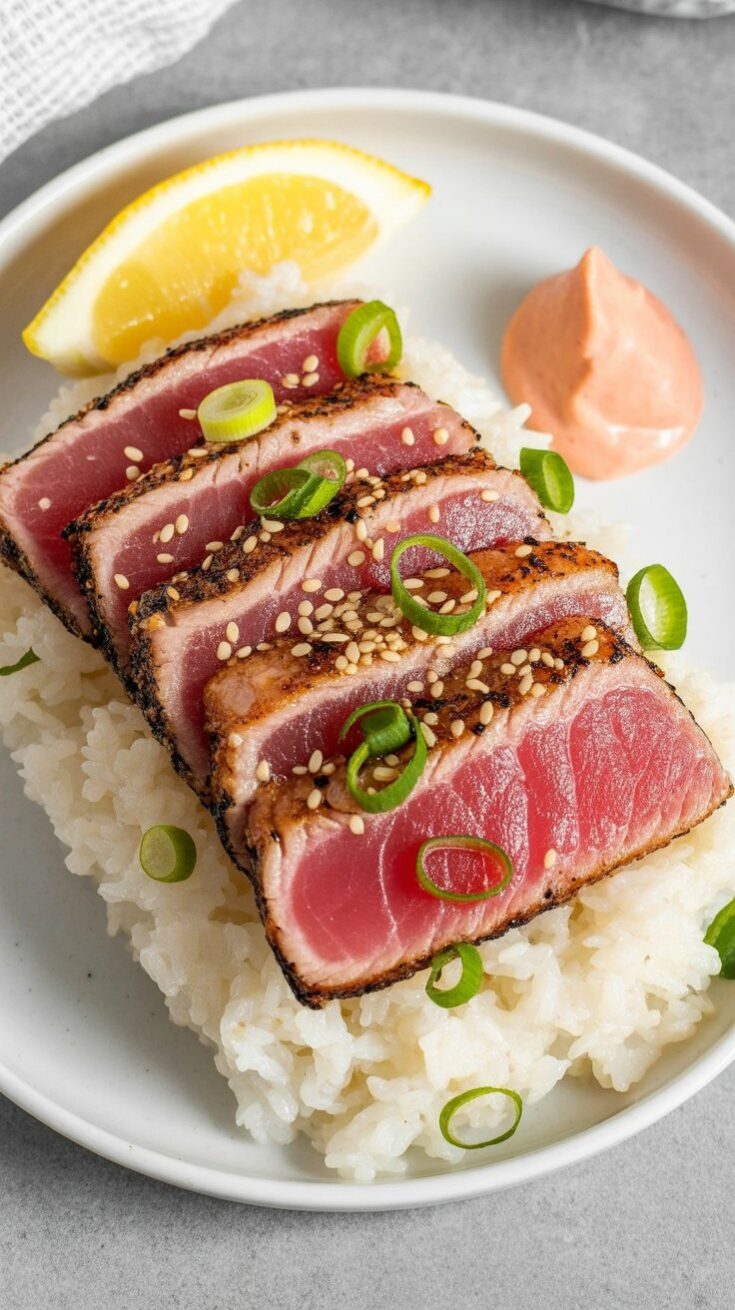
- Serve over rice, greens, or seaweed salad.
- Top with finishing touches like avocado, lime wedges, microgreens, or a drizzle of soy sauce, spicy mayo, or remoulade.
For a bright, fresh twist, add sliced mango or pineapple on the side.
Notes
- If preparing ahead, leave the tuna whole and wrap tightly; refrigerate up to 24 hours and slice just before serving to keep it tender.
Nutrition Information
Yield
2Serving Size
1Amount Per Serving Calories 320Total Fat 9gSaturated Fat 1gUnsaturated Fat 8gCholesterol 79mgSodium 1734mgCarbohydrates 7gFiber 3gSugar 1gProtein 51g
Easy Shrimp Recipes.com, occasionally offers nutritional information for recipes contained on this site. This information is provided as a courtesy and is an estimate only. This information comes from online calculators. Although allchickenrecipes.com attempts to provide accurate nutritional information, these figures are only estimates.
Final Thought
This dish has become a regular in my kitchen because it fits so many moods — light but satisfying, fast yet impressive. Once you get comfortable with the quick sear, it becomes one of those meals you can make almost without thinking. Whether it’s a quiet dinner at home or something you’re sharing with guests, it has a way of feeling special without any fuss.

